Monday, May 26, 2014

A tour of My Island - Smith Island MD.

What a beautiful day it is here on the island. Smith Island MD. is not well known but is very alive in culture and tradition.

What a history there is here. It is not a fancy island like Nantucket or those other touristy islands. It is real and it is wonderfully interesting. There are very nice houses and there are abandoned houses. Many Photographers and Artists come here to take pictures and to paint. The wild life and the birds are incredible. Most of the people here make their living by crabbing for the Blue Crab that the island is famous for. In the winter they go for oysters. It isn't an easy life but it is a peaceful one.
Our house is the one with the blue roof.

Most of the islanders, except for a few people like my son who have retired here, are water men and are related back to when the island was settled in the sixteen hundreds. There are true legends of Pirates that would come ashore and plunder the towns.

This is an excerpt from a Smith Island Community Profile,

"Smith Island was first charted by Captain John Smith, and was named Russell Isles, after
the doctor on Smith’s boat (Smith 1624). The islands were first settled in 1657, and were
renamed for Captain Henry Smith, who was granted 1,000 acres here in 1679 (Scheller 2000).
The island was first used for grazing livestock."

The island has a colorful history but is known mostly for it's old fashioned way of living. All of the people here are, kind, helpful, and wonderful people.

An islander riding a bicycle. Most of the people use Golf Carts and some have cars.

I went for a walk but most of the pictures I took are just in my neighborhood. There are much more interesting places on the island and I hope to get some more pictures soon. We do have tourists that come here in the summer. Most are fascinated by the history of the island and most visit our two restaurants for our famous Crab Cakes and the Smith Island Cake which is many layers with frosting between each layer. It is the official desert of Maryland. People also visit our museum.
We have Bed and Breakfast Inns in many places on the island.

Our next door neighbors house. Wonderful people. Brenda brings me the most delicious dinners when my son and daughter in law are away visiting the family.
 
More pictures of the houses here. There are so many Roses here. Most of them bloom all summer. It is such a pretty place and is just so natural. Our restaurant, Rukes Crab Shack is a real place that has been here since the 1950s. It isn't fancy but it has real things in it. Old pictures, vintage pieces and chairs that don't match. This isn't Red Lobster décor. This is the real thing. I will get a picture of both restaurants soon. Our newer restaurant is a beautiful place. Lot's of room, a gift shop, a large deck where you can eat, if you desire and a wonderful view of the bay. You can watch the boats come in and out. In fact if you come here you will come over on a large boat that will deliver you right to the deck of The Bayside Inn.

More of our neighbors houses.

 
The Fishing Boats.
 

A Golf Cart. I must learn how to drive one soon. It is very easy.

Looking down our street toward the Church and the restaurants.
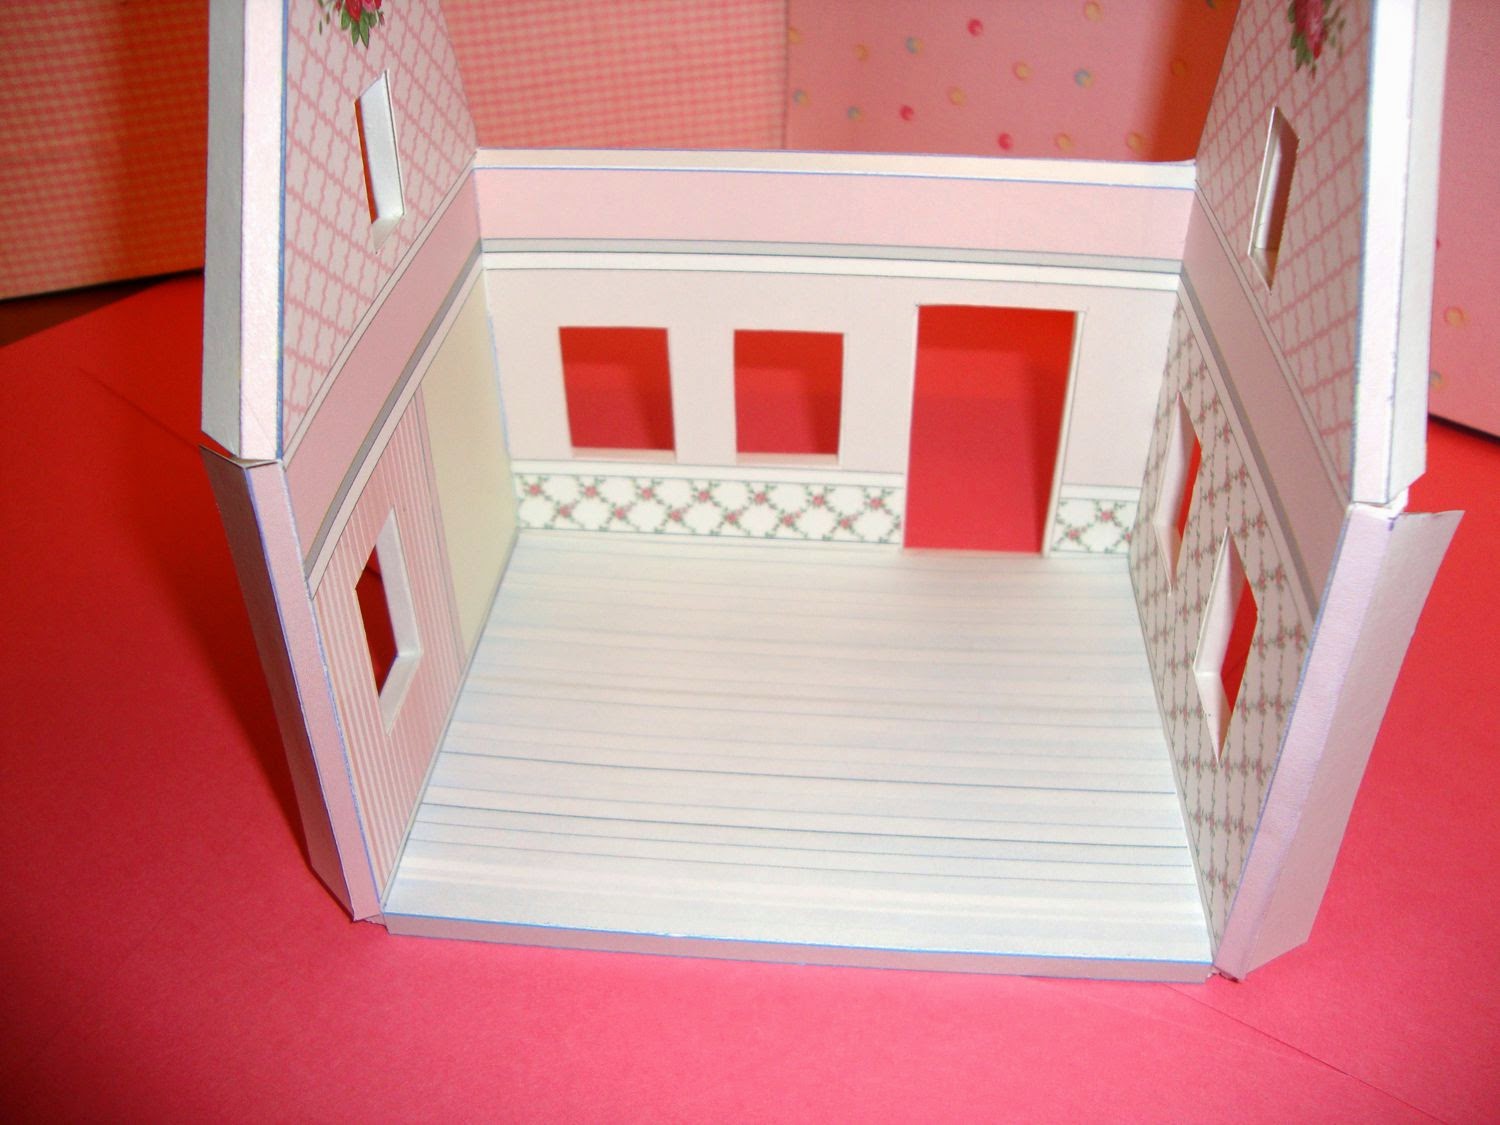
That is our tour for today. I hope that you have enjoyed it. Tomorrow I will have more on my work on The Fairy Cottage and The Paper Pirate Ship.
Take care, Barbara

For free Printables and Templates for The Paper Bead Rollers and tutorials for my Dollhouse Printables.
http://papercraftsite.com


Saturday, May 24, 2014


Hi, I have a wonderful site for you all. I love this site. For all you mothers out there. There are amazing things to make out of Paper here. Lot's of toys, cars, airplanes, houses. For everyone a lot of everything made of Paper and you know how I love Paper.  Check it out.

 I am going back there as soon as I post this. I want to check out the Ship models as I am working on my own Paper Ship model right now along with the Fairy Castle.
http://papermau.blogspot.com/


The Enchanted Cottage- Make your own Dollhouse


Hi All, I have been making Printies for about ten years. I LOVE to do this. Printies are printable graphics that you print out, usually on card stock and glue to different kind of card boards, foam core board, mat board or just use the card stock.
After they are glued and cut out, they are assembled into dollhouses, and items for dollhouses.

Some of you may already know of my Half Scale Miss Mouse Tea Pot House. I have been selling it on my Etsy Store for a while now.
https://www.etsy.com/shop/DollHousePrinties
The Garden Shed is another of my Printies. It is One Inch Scale and would look so great in the yard of your One Inch Scale Dollhouse.
https://www.etsy.com/shop/DollHousePrinties


If you want to find out more on how I make my Dollhouse Printies.
http://papercraftsite.com
The Enchanted Cottage took me a year and a half to design and finish. It looks like it is very hard to make but it isn't at all. It takes a long time to design and make these houses because everything must be tried and tested to make sure that every piece fits perfectly and the pieces go together easily.
All this work make it easy for you to cut it out and put it together. You just print out and glue to different mediums, most of which you already might have in your craft supplies. Then you cut the pieces out, (I do this while I am watching TV.) Assemble, and you have a beautiful Half Scale Dollhouse.
 See below for pictures of how it is put together.

The back roof of the house can be glued down but if you want to put lights in it, leave it so it opens. With the purchase of some LED lights, http://www.modeltrainsoftware.com/ledlights1.html you can put lights in your cottage. You can see the inserts at the top of the second floor. They make small roofs at the peak of the roof. That is where the batteries and wires will be. Lights can come down from the ceiling.
The chimney can hold more wires and there can be beams on the bottom floor ceiling to hold the wires and lights.  If I can find time I would like to make a kit to do this.


In this illustration you can see how the printed pieces of the walls floors and roof are laid out and glued to foam core board. You cut the pieces out with an e-xacto knife. You will be surprised at how sturdy the foam core board is. All the printed pieces are sprayed with acrylic spray so they are water resistant and have a pretty tough surface.

Here you can see how to decorate the cut out pieces. Each piece is illustrated to show how to do this. You will be using card stock and balsa wood strips. The wallpaper is already there, unless you want to change it. You can print out some free dollhouse wallpaper from the web and glue it on top of the print that is already there.
The stucco is a secret but I will tell you that it is Easy Easy Easy. LOL

Cut out and assemble the other pieces. Shown below is the dormer. Quite easy to make.


For more information on how to make my Printie Dollhouses.

http://papercraftsite.com
 I hope to have my article on May on my Island soon.
Take care and be good to each other.
Barbara


Wednesday, May 21, 2014

Update on Shabby Chic Furniture in Quarter Scale and How to make your own boxes.


 Hi to all, La Petite Maison pictured filled with The Shabby Chic Furniture in Quarter Scale.
How small these pieces are but they are designed to go together perfectly. They are easy to make even though they are small. If you haven't tried Quarter Scale yet, you should. The houses take up so much less room so you can have as many as you like.

 On the right is a picture of all the furniture that you get in the one file. A whole house full of furniture. I am especially proud of designing the Sofa. You can see a picture of the instructions for the sofa below.
All the instructions are very clear and have photographs of the piece. Most are so easy to put together that all that is needed is a picture of the finished piece. The Sofa is a bit more complicated but the photos make it very easy to make.

https://www.etsy.com/shop/DollHousePrinties


There will be a surprise in the next online issue of
AIM Magazine. Don't forget to look for it.

This is a picture of the screen that is for the bedroom.


A picture of the furniture as I was designing it on my computer.
This is a picture of the Quarter scale furniture in progress. Many changes were made before it was finished. I  printed this out many times and assembled the pieces and then went  back to the drawing board to make changes. I printed the pages out and cut them out many times, assemble them and perhaps on the fifth try  if I am lucky everything works right and looks good. I was finally satisfied with everything that the pieces were perfect and fit together just right. Than I did photographs and put the file up for sale on my Etsy store.


Pretty Boxes


Another thing I am working on to sell on my site are Printies Gift
Boxes. You just print them out and assemble them.
If you want to make them yourself and you have a graphics program. You can!
Just do a search for "box templates". There are tons of them on the web. You can use them if you are just doing them for personal use. If you intend to sell them you have to make sure they are your own design or different enough to make them you own. The graphics you can download by going to a site like Pinterest.com.
A wonderful place for everything. Do a search on Pinterest for Printable graphics and specify the kind that you want. For example, Christmas graphics. Wow!! You won't believe what you can find and download. Watch out for copyrighted material. Most of them you can use if it is just for personal use and to give to friends as gifts.
There are many shapes and sizes to choose from and many flower shapes, paper bows. You will be amazed.

http://www.easypapercrafts.com/free-templates-slide-show

This one is my favorite.

http://www.auntannie.com/BoxesBags/

The graphics on my examples are purchased on Etsy.com.
I make a collage of different pictures assembled in back and on top of each other.
I wanted something that looked vintage.

They are sort of Victorian Shabby Chic.
If you love vintage and everyone does these days go to
http:/www.thegraphicsfairy.com
for free graphics. I love this site. If you haven't tried it yet. You will be amazingly surprised.


Goodby for now and have fun with graphics. If you want more information on graphic programs or working with graphics you can write in the comments and I will answer you. Don't forget your email address.
Hopefully I will get out today and get some photos so I can show you my island as promised.
Barbara


Tuesday, May 20, 2014

How La Petite Maison, The Quarter Scale House is made.


How La Petite Maison, The Little House is made
 
La Petite Maison  The Little House
http://www.papercraftsite.com/
Hi,  Good morning.
 
How to make print out and put together the little Quarter Scale Dollhouse. La Petite Maison.
This is La Petite Maison a Quarter Scale Dollhouse.


I thought I would put up a demonstration of how the little quarter scale house is made. It is made much the same way as my other houses are made.

1. First you would download the file from my Etsy shop. Most of the houses in my shop are instant download. Just purchase and download the file and you are set to go.

2. Print out the pages that are in the .pdf  file to card stock.. The .pdf file will open in Adobe Acrobat. Most of you already have that program.

3. Spray the prints with Acrylic spray. You don't have to do this but it will preserve the ink and the paper so that your house should last a long time.

4. Cut around the general area of the pieces from the pages that will be glued to foam core board. Each graphic is labeled to tell you what type of cardboard or foam board that piece should be glued to.  The floor, sides and roof are glued to foam core and then cut out.


After the basic house pieces are glued to the foam core board and cut out they are assembled. It is very easy and there are photographs to help you see just how it is done.


The basic pieces glued together with white craft glue.
the red arrows show you how to place the pieces.


The shell is now ready to put the wallpaper and the out side siding on.


Now print out the wallpaper and siding pieces and cut out. Cut out the windows and door too.
I do this while I watch my favorite program on TV. Score on the fold lines and fold.


Now start putting the wallpaper on the inside. The instructions tell you which pieces go first.
Use a glue stick or white craft glue to do this.


The pieces go on easily and are folded around to the outside. Each piece fits perfectly. Glue on the floor.


Here you can see the arrows pointing to where the wallpaper folds over to the back. It is all very neat and easy to do.


http://www.papercraftsite.com/


 This is the front piece of siding wallpaper. The outside window frames are cut out and glued onto the windows. You will do the same with the inside before you finish. If you want you can make window panes by attaching cut strips of adhesive labels and sticking them to clear plastic, then gluing the frames to the inside. Or you might prefer to put the panes on the outside under the frames.


Next the side panels are done. The gable decoration is done in 3 dimension. It uses layers of card and cardboard to build up a decoration for the sides of the gables.


Here are the gables finished. Don't they look great? Now you can glue the outside wallpaper siding to the shell.
The roof pieces are printed out on card stock, glued to foam core board and cut out. They will be covered  with graphics on both sides.


The shingles. The shingle are easy. They just look hard. They are cut out in strips and slit with a scissors on the lines between the shingles. (See arrows.)


The roof pieces with the hinge glued on. The roof can now just sit on the house and be removed to place furniture or glued down. I left mine loose so that I could put up my little chandelier.


Here is the roof all shingled and ready to place on the house. there will be a piece across the peak to cover the white area.


Here is our "little baby" all ready for the furniture.
My houses are all made this same way.
Some are more detailed and will take longer to make. I really wanted them to be easy to make. The time it takes depends on the amount of detail.


http://www.papercraftsite.com/


Tomorrow----- May on Smith Island.
I will finally get outside and take some pictures.
It really is beautiful here. A very simple life. Good folks and lots of old fashioned getting together and fun events. We just had a Birthday party for one of our islanders 90th birthday. She is a beautiful women and still goes everywhere. Her name is Iris.
I will tell you more tomorrow. I hope you have been enlightened by my house demonstration and tutorial.
Till tomorrow, Barbara


Monday, May 19, 2014

What a wonderful day it is. How I make my houses and organizing supplies.


How I make my houses and organizing my supplies.

http://papercraftsite.com


I really want to get outside but I am enjoying making the Fairy Castle-Witches Castle- Mouse Castle, so much that I just look out my window once in a while.
I started this a while ago. This is how I do it.
First I think about it. I use the time right after I go to bed when the TV is off and I am waiting to fall asleep. I think about the project that I have had an idea for. I imagine it in my mind and how it will look. I do this for a few nights and it all starts to come together. By then I have a very general idea of what I want to do so I start collecting things that I will use to make the project.
I have a container that I use and I start putting things in it. As the project progresses some of the things may be taken out, more may be put in.

I have decided that this time some of the items will be purchased. I usually make almost everything from card stock and cardboard. This house will have more imagination. I will actually enjoy making it more because I can use my imagination and so many purchased things. A great site is  http://alphastamps.com  Great things there. Also for free graphics, http://thegraphicsfairy.com. So many wonderful things here. Not just free graphics but articles on how to make things and decorate old furniture. I can't recommend it enough. I love this site and the best part is it's free.

My container of collected supplies for project.

Then I start. I decide what my goal is for this item. This time I decided that this project would be somewhat different than my Printable Houses. It will be Printable but it will also allow people to be more creative as they make it. The people who make this can buy the little things to decorate it with or they can make them. You are all very handy and artistic.
You can see the moss, the tiny flowers and the vines. I bought some Styrofoam and some came with the new small dining room table from Walmart that I bought for a craft table. So much more inexpensive than buying a craft table and I like it better. And at Walmart, no shipping. No I don't have any stock or connection with http://walmart.com but you can buy so much from them including food with no shipping charges if you buy more than a certain amount. I certainly couldn't afford the shipping on a table.
I always hear people say that they don't have room to do crafts. That may be true for some of you that have very small places and have children but I think that there are ways that you can get a bit of space to do your crafts that you enjoy so much.
this is a picture of part of my new "desk".
This is the other side.
I live with my son and daughter-in-law. I have a room that is about 11' x 11'. That is my home. I don't have any storage space except for two small items in the basement. Everything that I own is in this room and a very small closet. I was using a desk that did not help the situation so I gave it away to a 13 year old boy who likes to come and do mixed media projects with me. He is so happy with it. I bought a dining table and put that in it's place. I love it. I also bought a three piece cube to put my TV on and now I can see it. Yeah! Underneath I put another cube section to store things that I don't use often. You can see the boxes there. Later I will cut them down and cover them with fabric or scrapbook paper and neaten them up.


If I didn't keep things really organized I couldn't live in this small room. It can be done. My creating is the most important thing to me so that is what takes up most of my room.

This is my TV. Now I can watch it while I work.
My computer and work table.
http://papercraftsite.com
Back to making the project.
I started making this project by using some of the Styrofoam that came with my table. It is the bubble kind and it does make a mess. I did some of it outside because of that. I started by making a base of foam core board. I determined the size I wanted and cut it out. Then I cut some pieces of the foam and broke off the edges so they looked like layers of rock. Next was the problem of gluing the stuff together. I found that I could use white craft glue if I glued paper to the foam and then glued the next piece of foam to the paper. The foam won't glue to itself.  I built up a couple of layers of foam with the top layer being a bit smaller than the bottom one.


The start. A piece of foam core board with one layer of the foam glued to it.


 The second layer of foam with the beginning  of the shell of the house and tower on it. ( Not glued. The house and tower will be one piece and will just sit on the base.  That way people can make it and not have to make the foundation. The foundation of the cottage is Styrofoam that I sent for, not the bubble kind, I couldn't glue it. I used broken tooth picks to hold it in place. the cottage will be two one story with attic rooms. There will be a door from the cottage to the tower and two floors and a parapet in the tower.


The side of the tower with a sample of my new way of making stone work. Much easier than paper clay and I love the results. I am thinking that I may make this an island and have water all around on just the edges. The land part will be mostly rock with some gardens. The tower will have a circular staircase out side around to the front ending with a balcony. Perhaps a door to the balcony made with "stained glass". You can see my sketch marks on the tower. and the plans on my computer in the background.


The front/side of the cottage/tower. The samples are of the wood floor that is made the same way as the stone. I haven't seen this done before but it may be out there. I wanted something that was a bit easier than paper clay, although I love paper clay and can't wait to try it on this project. Perhaps the rocks? Also you can see one of the window frames. I want some to be "leaded"
The house will be sided with a peeling paint texture, also a new way of doing this.
I found out that you can make your own modeling paste. I can't give credit because it is on multiple sites that I searched. 1 part white craft glue, one part talcum powder and one part white craft paint. Mix together in a small container that you can seal. Do this with ventilation as the talcum can make you cough. Or perhaps it is just me.

This is the front. You can see my sketches for the stairs and the balcony. After I sketch this out I make that piece of the plan in my computer and print it out on paper. Then I test fit it and usually it is back to the computer to change it somewhat and then print again. (and again.) LOL


Here you can see the side of the cottage and how the foam is built up. The edges will be covered with paper clay and modeling compound and then painted to look like rocks. The flat parts around the foam I think I will paint that as ocean and make it an island Cottage Castle.
I would love to know what you think of it so far and any ideas that you might have.
Have a good day,
Barbara

http://papercraftsite.com